Updating a Case in the Proofpoint Essentials Community Portal
| Situation | You have an open case with Proofpoint Support and need to update the case, provide additional details for the case, update ticket status, upload information to a case, or get updates on the case. |
|---|---|
| Summary | See below for steps on how to reply to a ticket or provide additional details. |
Overview
This article shows how to update a ticket within the Proofpoint Essentials Community Portal.
Portal Access: https://www.proofpoint.com/EssentialsCommunity
Replying to a Ticket
- After logging into the portal, click Case.

- Select the appropriate case you wish to update.
- You may have multiple cases so choosing the appropriate case to update is needed.
- Scroll to the bottom to the Comment field
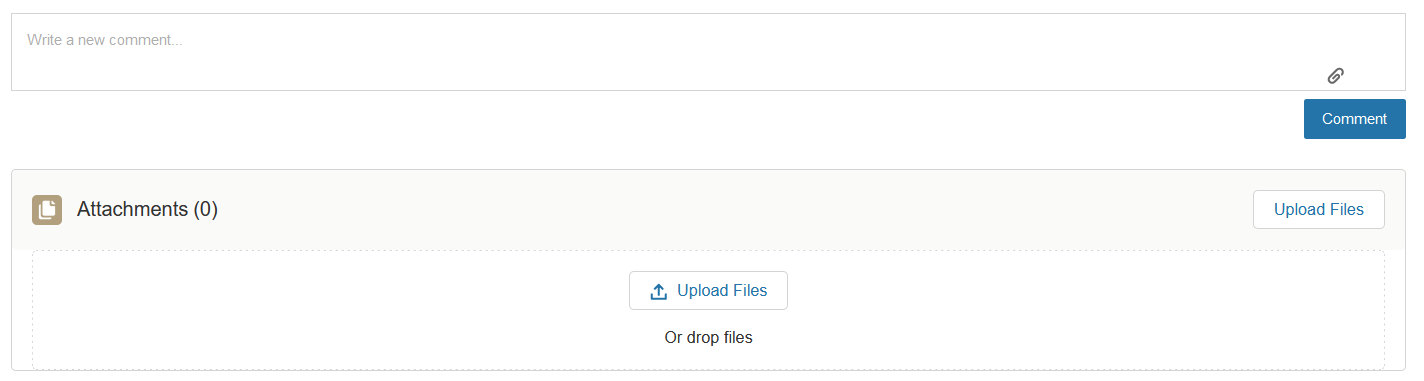
- You can type in the comment field any updates or responses to the case that you need to enter. You can also include information to help diagnose the case, such as:
- Permalinks are incredibly helpful when discussing particular emails or behaviors.
- Details of NDR, Queued Delivery Status, any additional report of email travel issues should also be placed here.
- Uploading files pertinent to case - To start, click Upload Files button in the Attachments Section of the form.
- A single message in question for review. (This must be the original file, not a forwarded copy.)
- If multiple messages, possibly zip these files together
- Log files if there are too many lines.
- This process needs to be used when doing a false positive/negative reporting.
- Please redo steps 1-5 for updating a ticket with responses as needed.
Update Ticket Status
To update the status, once you load the case you want to update, near the top of the ticket is a Status field. Click on the pencil next to the status:

After clicking the pencil, it will load a menu where you can change it. Click the dropdown and select the status you wish to set the case to. When finished, click Save at the bottom of the window.
